I just did a test run of my production process, pretty smooth!
A few weeks ago the Hackaday.io Bits newsletter had a little blurb about this project and said “We can’t decide if it looks better with white or black silkscreen!” That pushed me to include a few black boards in the PCB order alongside the white version.
My production setup includes a paste stencil jig, which is made up of a platform to mount the board, a space for the stencil, and some magnets to hold the stencil down. I may end up trying to make a hinge-based solution so it’s easier to lay-down and pick up the stencil, but for the time being this worked pretty decently.
My first solder paste test was done in a toaster oven. This time around I decided to use a hot plate (it allows me to film, and is easier to see the reflow.) Many years ago a friend and I put together this setup. He had gotten us copper plates to act as a heat spreader. I can’t find that plate, but I have this piece of sheet aluminum that did the job fine .
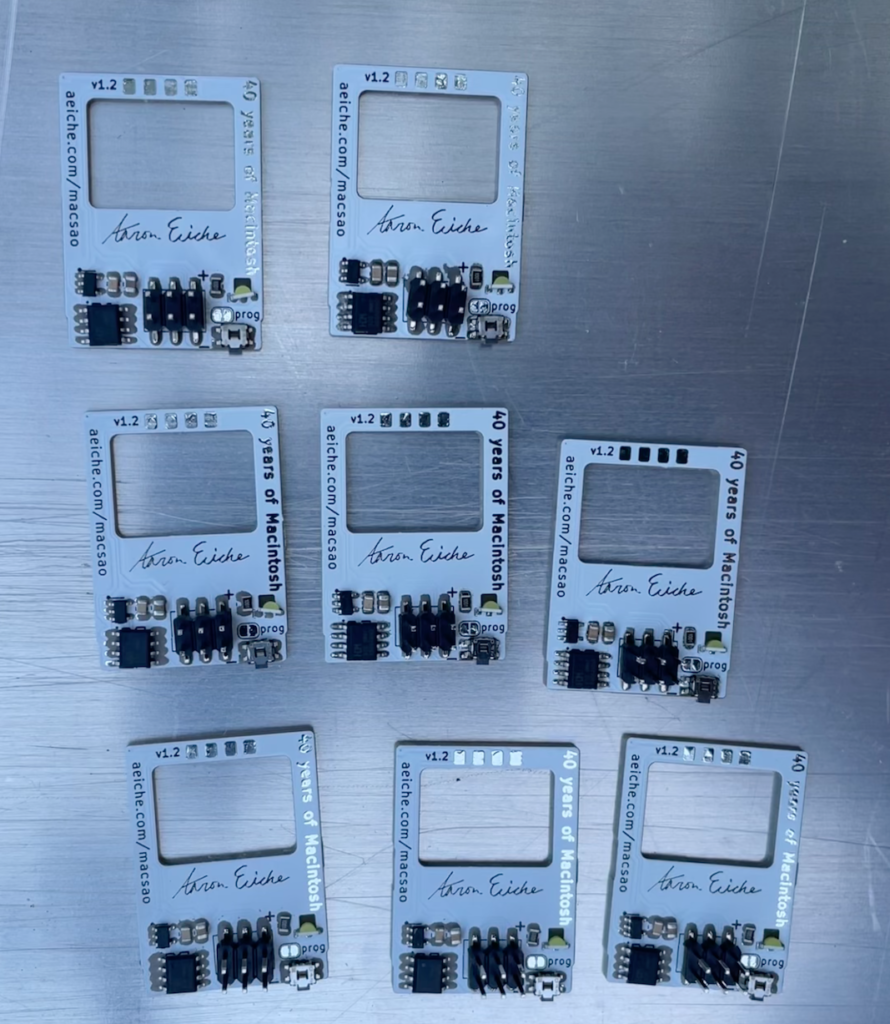
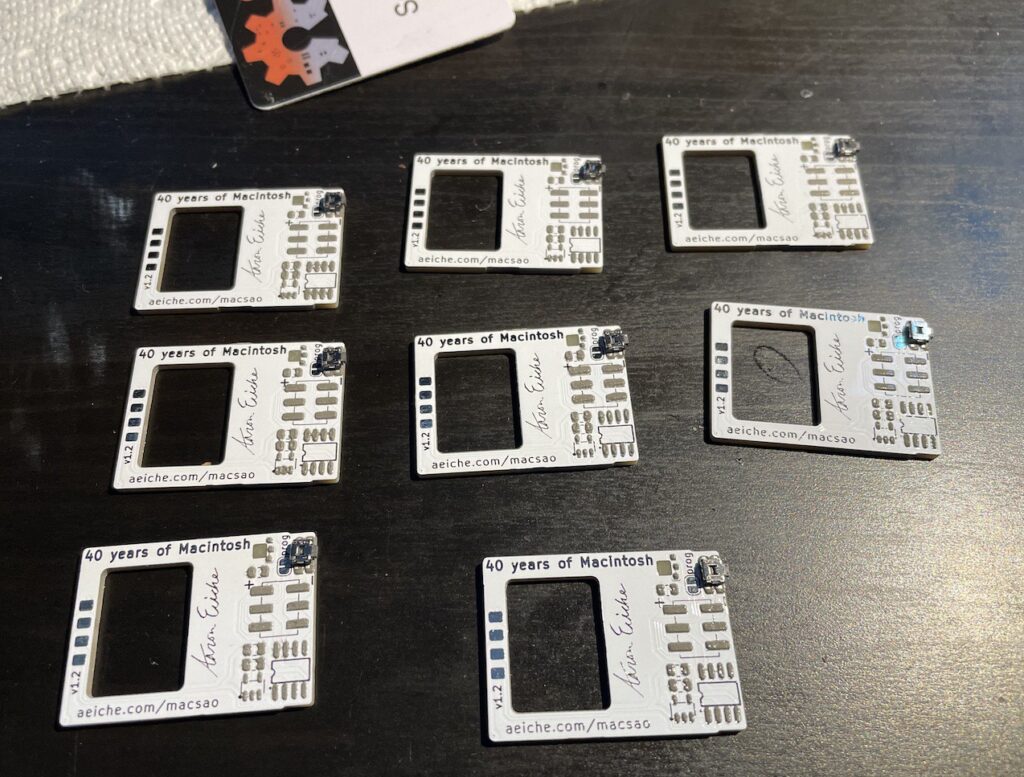
So far I have 8.5 white Macs, and 2 Black. The 0.5 was my hand-applied solder paste version where I didn’t have enough paste on the pads for the button and it popped off. It’ll go into the “fix it” pile.
So far I’m very happy with how they’re turning out. I haven’t tested all of them because I haven’t put together a programming setup more than the loose wires of the CH32 W Link. And the firmware is not yet finished.
As a final note – you may have noticed I put my signature on the board. Eagle-eyed readers may notice that when fully assembled, its hidden behind the display. This is a reference back to the original Macintosh. As the machine neared production, Steve Jobs decided the Mac team should sign their work, as all great artists do. While I don’t think of myself as a great artist, it’s my homage to the signatures of the Mac team were debossed into the case of the first Macs.